
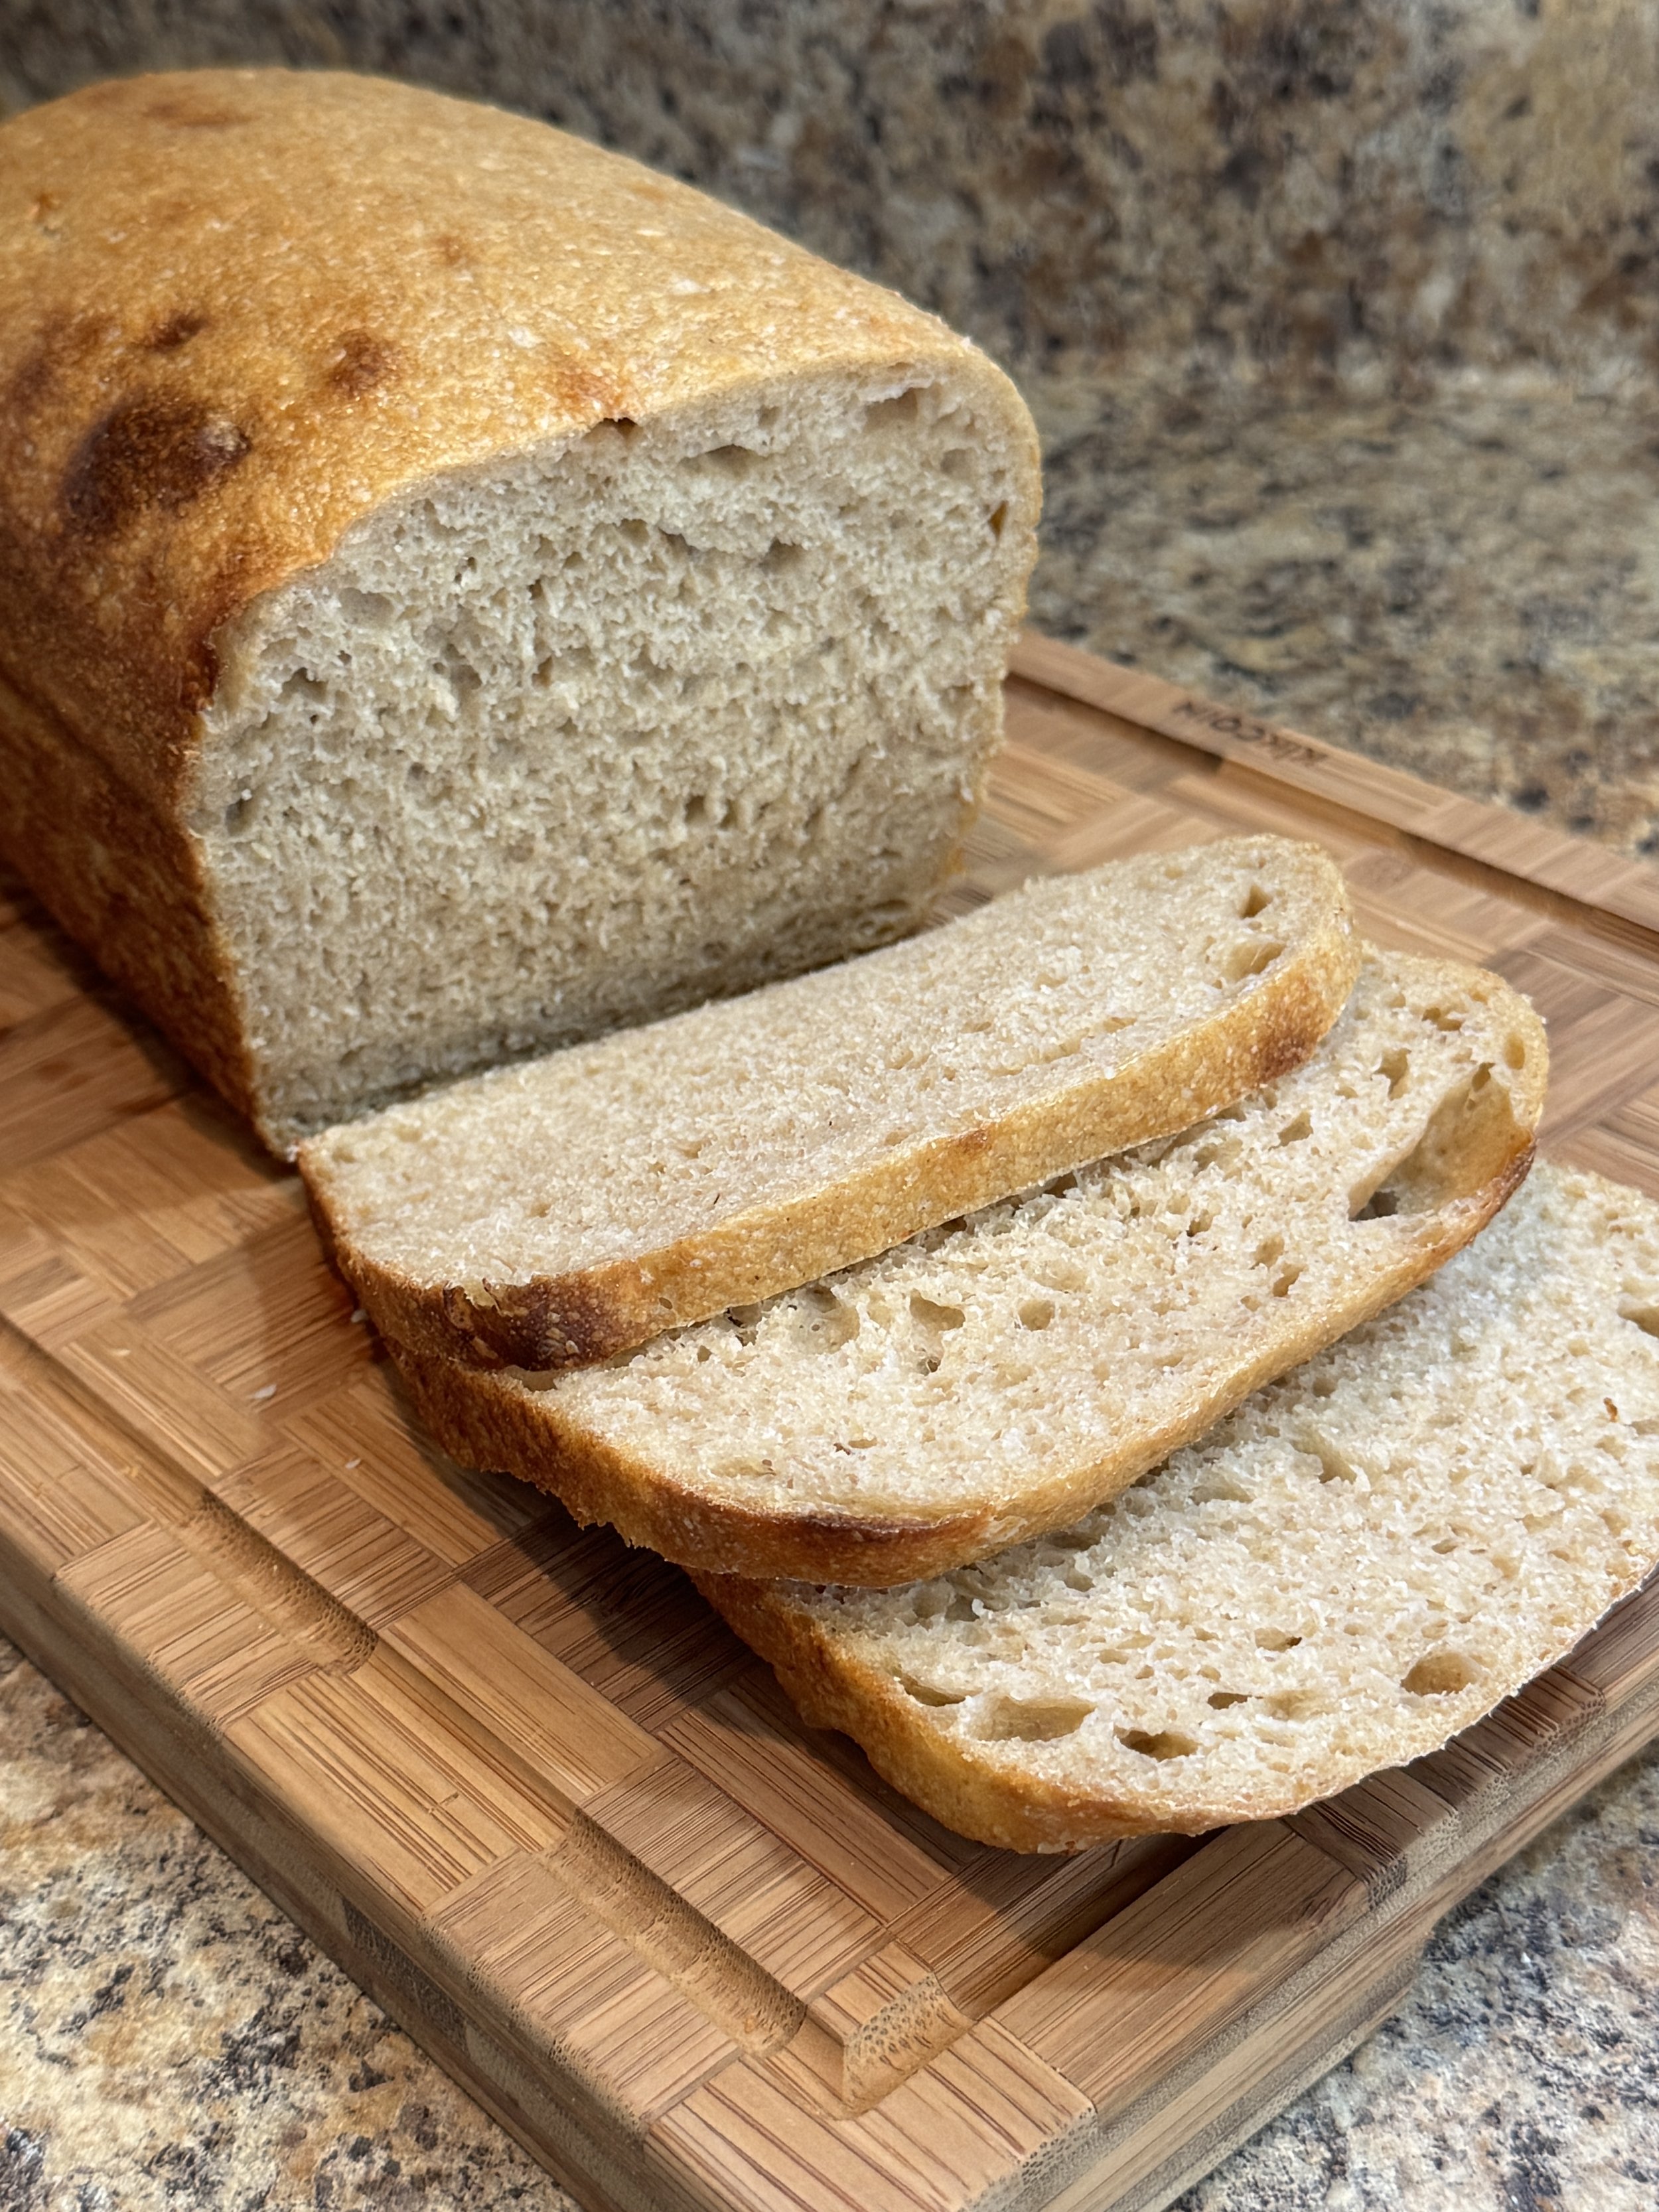
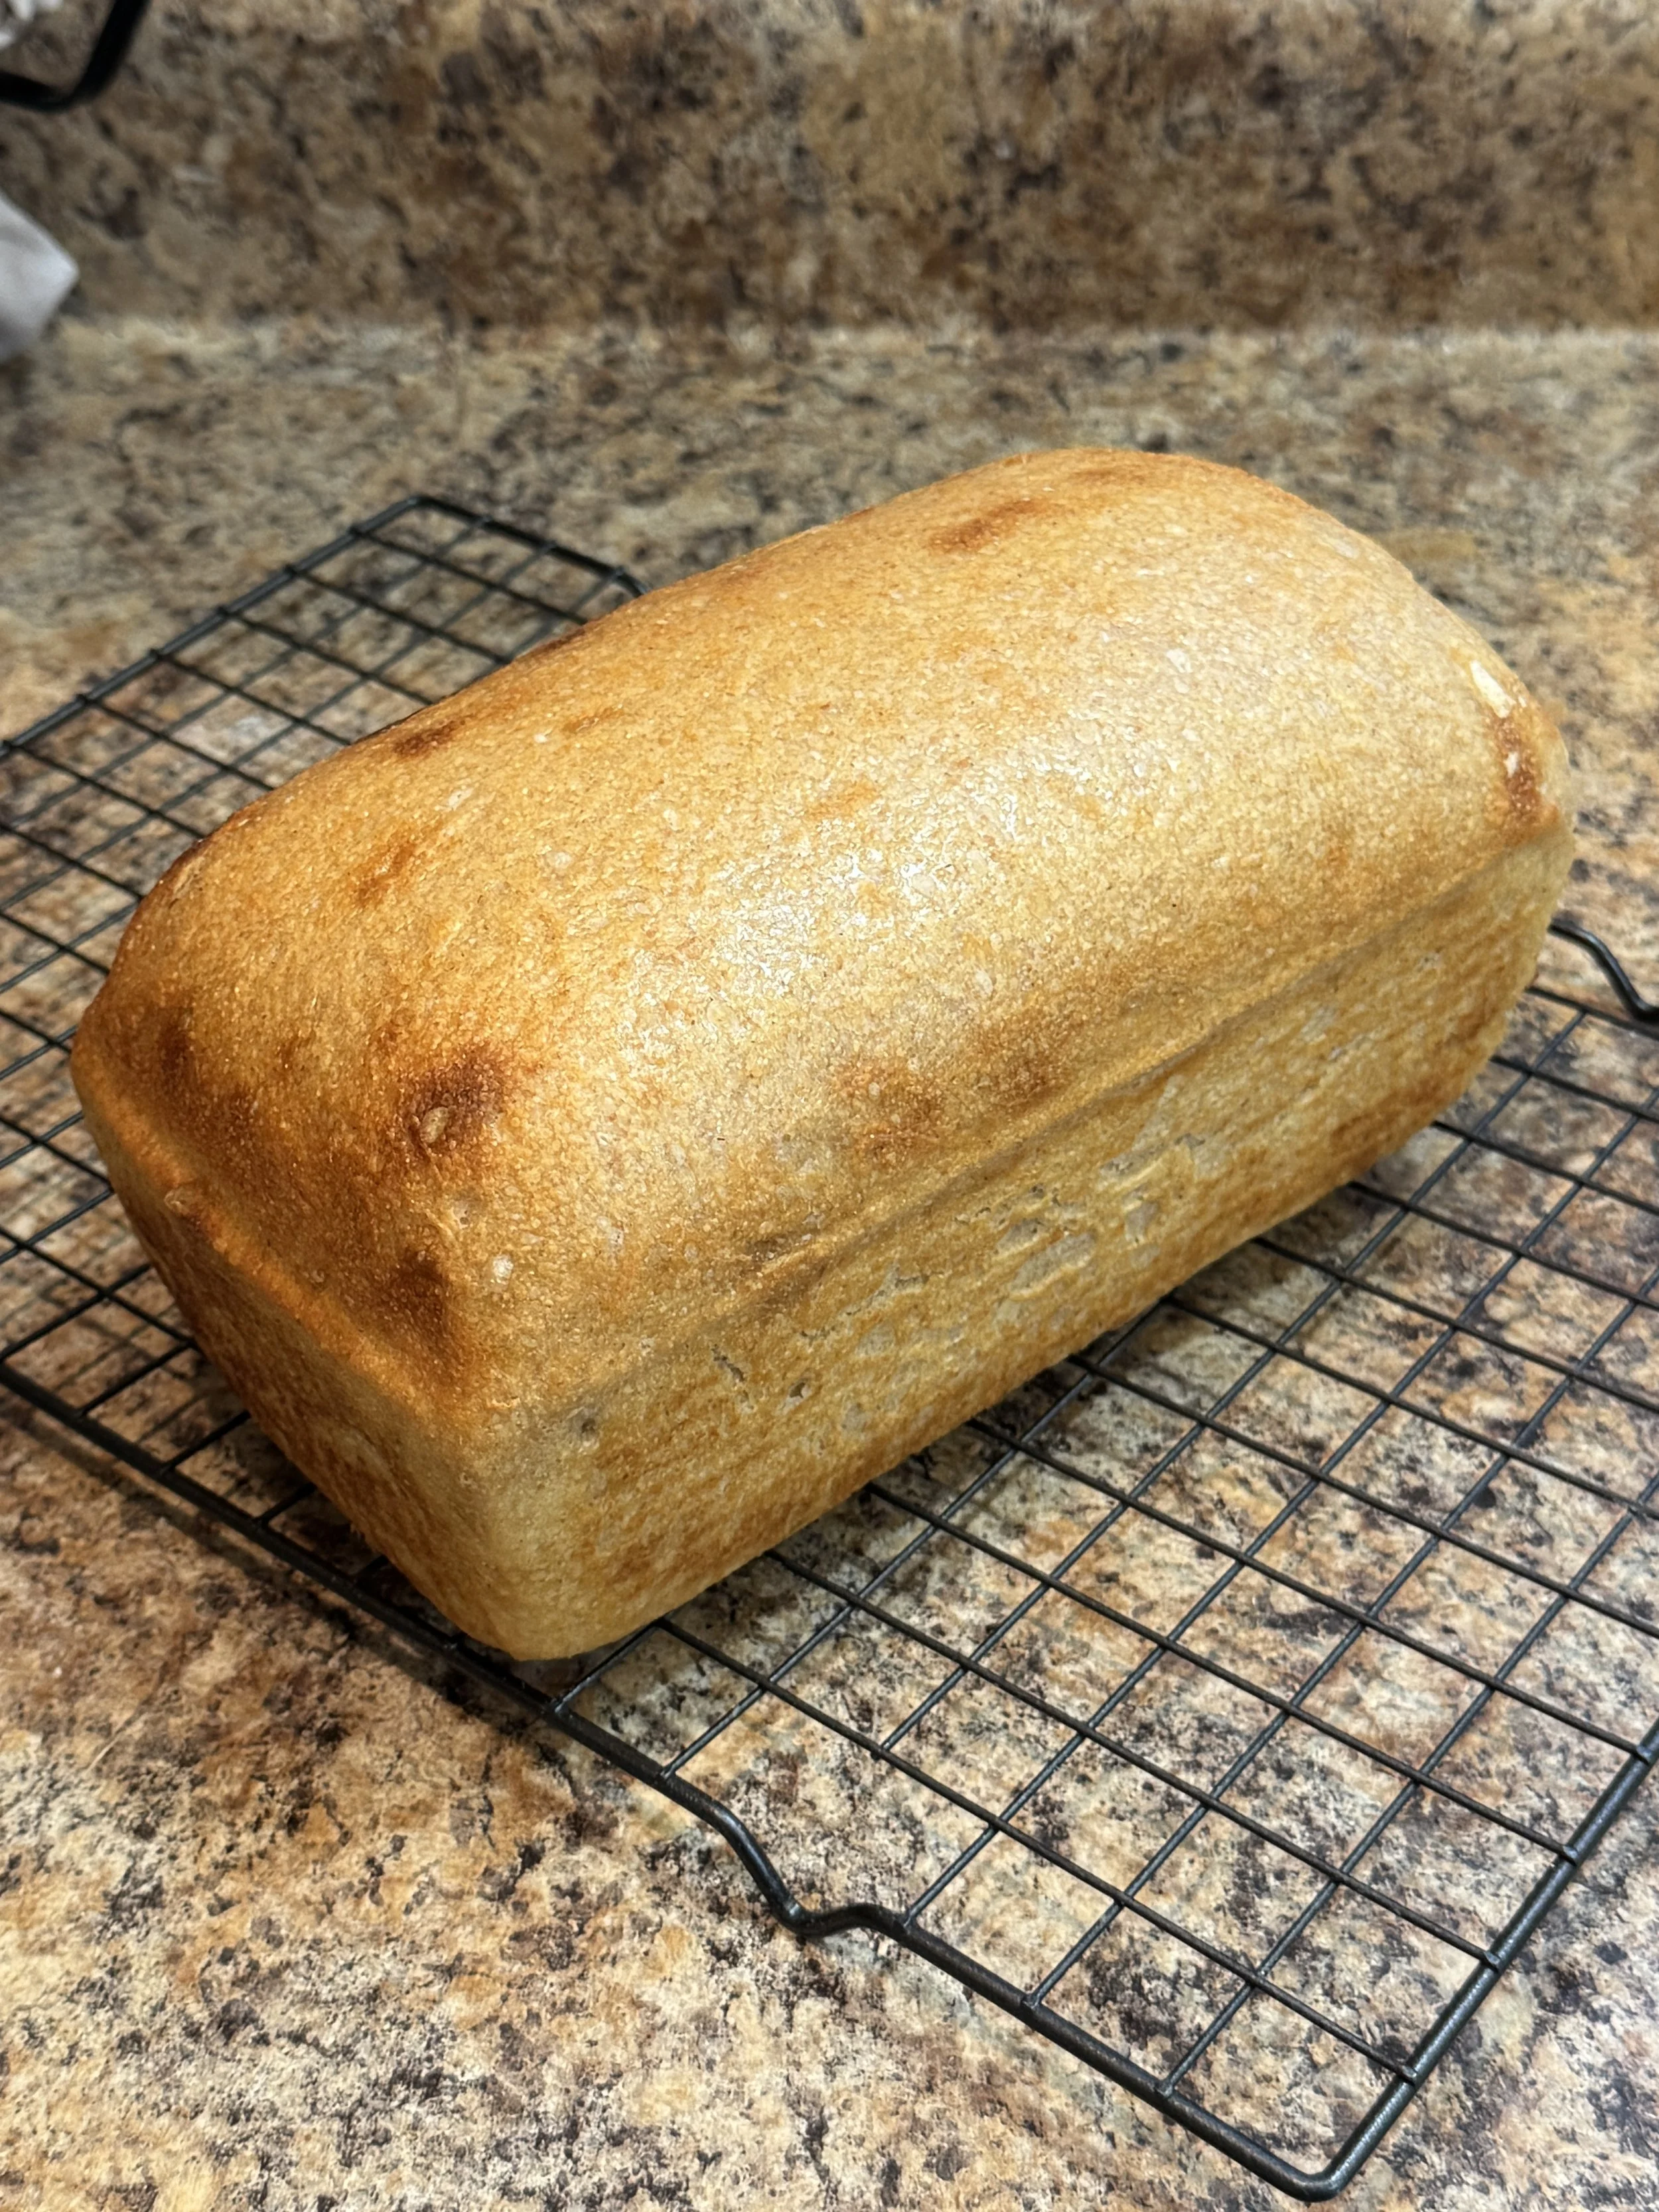
Fresh-Milled Hard White Wheat Sourdough Loaf
Total Time: About 1 day (mixing, rising, and cold proof)
Serving Size: 1 slice
Number of Servings: 1 large loaf (about 10–12 slices)
Calories & Macros per Serving: Varies based on slice size and flour used, similar to other breads on the site
Ingredients
• 300 g fresh-milled hard white wheat flour
(sift if possible to remove the larger bran pieces — this makes the dough softer and easier to work with)
• 300 g bread flour
• 460–470 g water
(start with 460 g — add the last 10 g only if the dough feels stiff)
• 200 g active sourdough starter (use at peak activity)
• 15 g salt
Salt and water quality matter for flavor. Use fine sea salt.
Instructions
Autolyse (Optional)
Mix the flours and water in a large bowl until no dry flour remains.
Cover and rest 45 minutes.
This starts gluten development but is optional.
No-Autolyse Option (Simple Method)
Mix flour + water + starter, rest 30 minutes, then add the salt.
This gives the dough a head start before salt tightens it.
Add Starter & Salt
If you used autolyse:
• Add the starter and salt together
• Mix by hand using pinching and folding until fully combined
If you skipped autolyse (simple method):
• Mix the starter in first, rest 20–30 minutes
• Then add the salt
Why this works:
Salt slightly slows fermentation and tightens gluten.
Adding it with the starter keeps things simple.
Adding it later gives more extensibility—useful with high-hydration or whole-grain doughs.
Both methods are correct.
Bulk Fermentation + Folds
• Let the dough rise at room temperature
• Perform 3–4 stretch-and-folds every 30–40 minutes
• After the final fold, leave it untouched until the dough:
– rises about 50%
– looks puffy
– shows small bubbles at the edges
Total bulk time is usually 3.5–4.5 hours, depending on temperature.
Pre-Shape & Bench Rest
• Turn the dough onto a lightly floured surface
• Gently pre-shape into a loose round
• Rest 15–20 minutes uncovered
This relaxes the gluten before the final shape.
Final Shape
• Lightly butter your baking pan so the dough doesn’t stick
• Shape the dough into a tight round with gentle tension
• Place the dough directly into the buttered pan
• Cover the pan for the cold proof
Cold Proof
• Refrigerate the dough covered in the pan for 12–24 hours
This slows fermentation, improves flavor, and makes baking easier.
Bake
Preheat the oven to 500°F.
Take the cold dough (still in the pan) out of the fridge.
Scoring is optional for a pan loaf — you can bake without scoring for a smooth top.
Place the cold pan directly into the hot oven.
Lower the oven temperature to 450°F.
Cover the dough by placing a second pan of the same size upside-down on top to trap steam.
Bake 20 minutes covered.
Remove the top pan and bake another 15 minutes uncovered, until golden.
Internal temperature should read 205–210°F.
Cool on a rack 1–2 hours before slicing.
Cool
Remove the loaf from the pan immediately.
Cool on a rack at least 1–2 hours so the crumb sets.
Tips
• Fresh-milled flour absorbs more water — add 5–10 g if the dough feels stiff.
• Do not rush bulk fermentation — most of the rise happens before the fridge.
• If the bottom browns too fast, place a baking sheet under the pan as a heat shield.
• Wait until the loaf is fully cool before slicing — that’s when the crumb finishes setting.